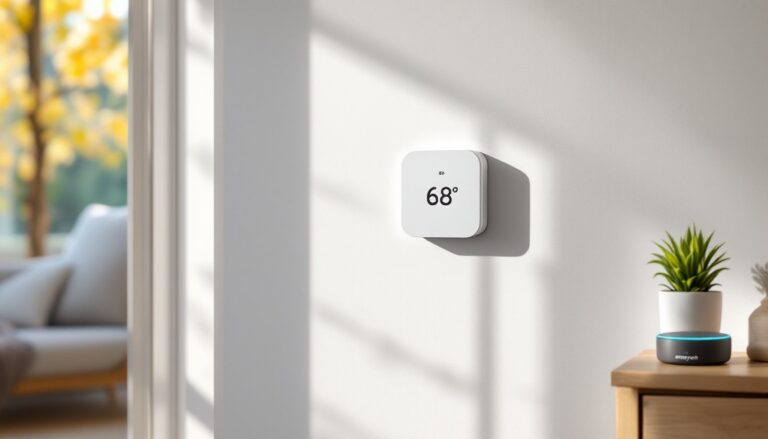
Installing a smart thermostat shouldn’t require an electrical engineering degree, or a C-wire. Many older heating systems, especially baseboard heaters and some furnaces, run on just two wires. That simplicity can become a stumbling block when upgrading to modern smart controls. Most popular smart thermostats need a common wire (C-wire) for continuous power, which leaves homeowners with 2-wire systems wondering if they’re stuck with outdated manual dials. The good news: several manufacturers now offer smart thermostats designed specifically for low-voltage 2-wire setups, and workarounds exist for systems that fall just short. This guide walks through everything needed to identify compatibility, choose the right model, and complete the installation safely.
Table of Contents
ToggleKey Takeaways
- A 2 wire smart thermostat uses battery power or power-stealing technology to maintain Wi-Fi connectivity and scheduling without requiring a C-wire, saving homeowners $150–$300 in rewiring costs.
- Popular 2 wire smart thermostat models like Honeywell Home T3 and Lux Kono are designed for low-voltage systems, while Mysa and King Electric serve high-voltage electric baseboard heaters.
- Installation requires identifying wire labels (R and W), turning off power, mounting the backplate level, connecting wires securely, and testing through the app—a straightforward process for most homeowners.
- Common issues like thermostat short-cycling, Wi-Fi drops, and incorrect temperature readings can be resolved by checking battery charge, verifying system compatibility, and repositioning the unit away from heat sources.
- If a 2 wire smart thermostat isn’t compatible, alternatives include C-wire adapters ($20–$40), running new wire through existing spaces, or upgrading the HVAC control board for long-term smart home integration.
What Is a 2 Wire Smart Thermostat and How Does It Work?
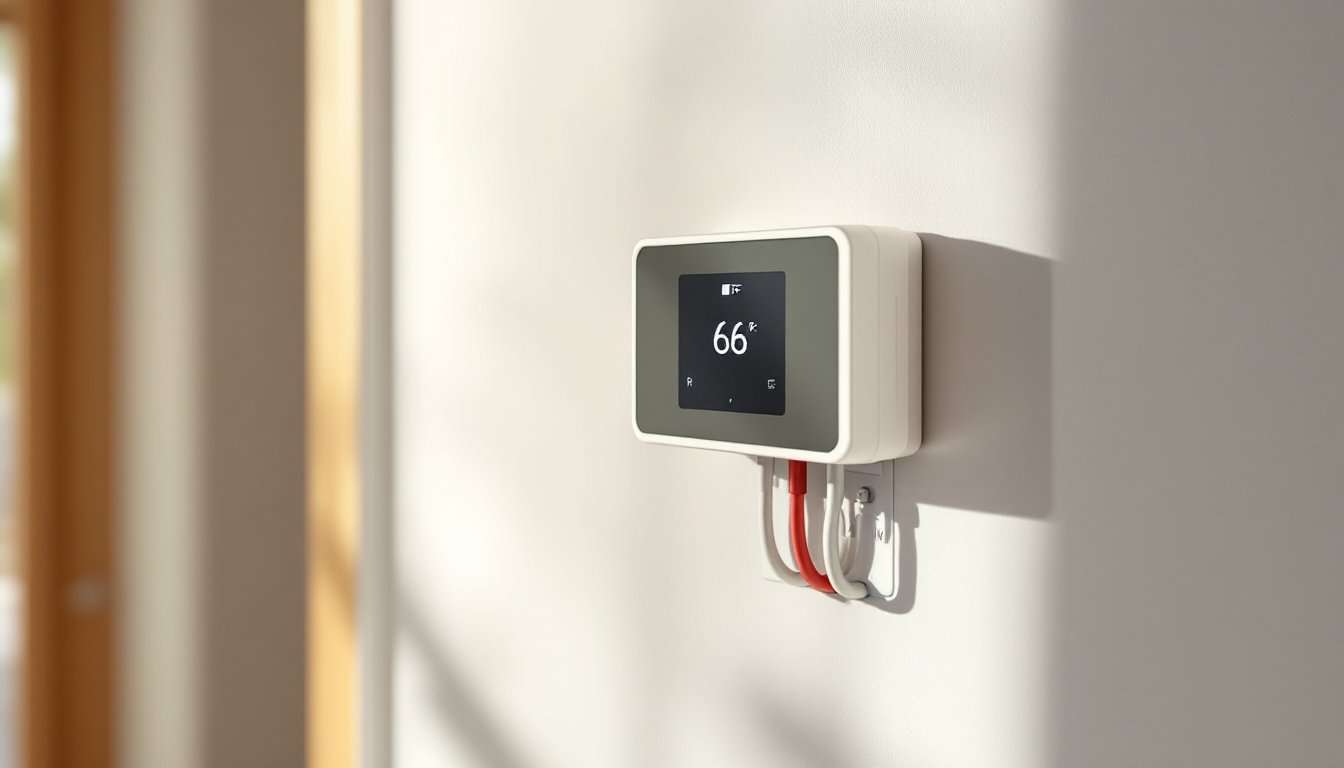
A 2-wire smart thermostat connects to heating or cooling equipment using only two low-voltage wires, typically labeled R (power) and W (heat call) or R and Y (cool call). These systems are common in electric baseboard heaters, millivolt gas furnaces, and some older forced-air setups without a C-wire.
Traditional mechanical thermostats work on this simple circuit: when the thermostat calls for heat, it closes the circuit between the two wires, signaling the equipment to turn on. When the temperature reaches the setpoint, the circuit opens and the system shuts off. No continuous power needed.
Smart thermostats, but, need constant power to maintain Wi-Fi connectivity, run touchscreens, and execute scheduling algorithms. Most models draw this power from a C-wire (common wire), which completes a 24V circuit separate from the heating call. Without it, the thermostat can’t stay powered between heating cycles.
Battery-powered and power-stealing models solve this problem. Some 2-wire smart thermostats use replaceable or rechargeable batteries for continuous operation. Others employ power-stealing technology, which siphons tiny amounts of current through the existing wires when the system is off, enough to keep the thermostat alive without triggering the heating equipment. This approach works well with most systems but can cause short-cycling or chattering relays in some millivolt setups.
Why Choose a 2 Wire Smart Thermostat for Your Home?
The primary reason is avoiding rewiring costs. Running a new C-wire from the furnace or air handler to the thermostat often requires fishing cable through finished walls, a job that can cost $150–$300 if hiring an electrician, more if drywall repair is needed. For renters or homeowners in older homes with plaster walls, that’s often a non-starter.
Smart thermostats deliver tangible benefits even on simple systems:
- Scheduling and geofencing reduce energy waste by lowering temperatures when no one’s home. Electric baseboard heat, which can be expensive to run, benefits significantly from tighter setback schedules.
- Remote control via smartphone app means adjusting heat from bed or while traveling, preventing frozen pipes or returning to a cold house.
- Energy reports provide usage data that helps identify inefficient heating patterns or equipment issues.
- Voice control integration with Alexa, Google Assistant, or HomeKit adds convenience without additional hardware.
For systems that genuinely only have two wires and no option to add more, a 2-wire smart thermostat is often the only path to smart control without replacing the entire HVAC system or adding external power adapters.
Best 2 Wire Smart Thermostats on the Market Today
As of 2026, the market remains limited but functional. Here are the top contenders:
Honeywell Home T3
Designed for baseboard and radiant heating, the T3 uses AA batteries for power and supports 2-wire millivolt systems. It offers basic scheduling, geofencing, and Alexa/Google integration. Battery life averages 8–12 months depending on usage. The interface is straightforward but lacks the polish of higher-end models. Best for: electric baseboard or millivolt gas heaters.
Mysa Smart Thermostat
Purpose-built for high-voltage electric baseboard and in-floor heating (120V/240V), Mysa doesn’t require low-voltage wiring at all, it wires directly in line with the heater. While technically not a “low-voltage 2-wire” thermostat, it solves the same problem for electric resistance heating. It features energy monitoring, scheduling, and multi-room zoning when paired with additional units. Best for: 120V or 240V electric heating systems.
Lux Kono Smart Thermostat
Compatible with select 2-wire heat-only systems, the Kono uses power-stealing to maintain charge. It includes customizable faceplates, geofencing, and seven-day scheduling. Performance varies by system: some users report issues with millivolt furnaces causing relay chatter. Best for: 24V heat-only systems with compatible relays.
King Electric Smart Thermostat
Another line-voltage option (120V/240V) for electric baseboards and fan-forced heaters. Offers app control and scheduling but limited third-party integration. Best for: direct-wired electric heaters in single zones.
Before purchasing, verify system voltage and compatibility. Low-voltage systems (24V) require different thermostats than line-voltage electric heat (120V/240V). Check the existing thermostat or equipment manual for specs.
How to Install a 2 Wire Smart Thermostat (Step-by-Step)
Tools and Materials:
- Screwdriver (usually Phillips)
- Wire labels or masking tape and pen
- Drill and anchors (if mounting surface is drywall without backing)
- Level
- Voltage tester (non-contact or multimeter)
- AA batteries (if required by model)
Safety First: Turn off power at the breaker or furnace switch before touching any wiring. For millivolt systems (usually gas fireplaces or older furnaces), there’s no external power switch, voltage is generated by the pilot flame’s thermopile. These systems are low voltage but still require careful handling.
Step-by-Step Installation:
-
Turn off power. Flip the breaker for the heating system or the furnace disconnect switch. For millivolt systems, this step doesn’t apply, but the voltage is low enough (typically under 750mV) that shock risk is minimal.
-
Remove the old thermostat. Unscrew the faceplate and pull it from the wall. Most older models snap off or have one or two mounting screws.
-
Label the wires. Even with just two wires, note which terminal each connects to (commonly R and W). Take a photo with a smartphone for reference.
-
Disconnect and inspect wires. Unscrew terminals and gently pull wires free. Check for frayed insulation or corrosion. Trim back and strip 1/4 inch of fresh copper if needed.
-
Install the new backplate. Most smart thermostats use a separate mounting plate. Level it, mark screw holes, and secure it to the wall. If there’s no stud behind the existing location, use drywall anchors rated for at least 10 lbs.
-
Connect the wires. Match wire labels to the new thermostat’s terminals. Common configurations:
- R and W for heat-only systems
- R and Y for cool-only systems (rare in 2-wire setups)
- Tighten screws firmly: loose connections cause intermittent operation.
-
Install batteries (if applicable). Insert fresh AA batteries in the correct orientation.
-
Attach the thermostat to the backplate. Snap or screw the display unit onto the mounted base.
-
Restore power and test. Turn the breaker back on. The thermostat should power up and prompt for setup.
-
Complete app setup. Follow manufacturer instructions to connect to Wi-Fi, set schedules, and configure geofencing.
Permit and Code Notes: Replacing a thermostat is generally considered maintenance, not new electrical work, and doesn’t require a permit in most jurisdictions. But, if rewiring or adding new circuits, consult local codes. Thermostats controlling line-voltage heating (120V/240V) must be rated for the load, check the heater’s wattage and ensure the thermostat can handle it.
Troubleshooting Common 2 Wire Smart Thermostat Issues
Thermostat won’t power on:
Check battery orientation and charge. If the model relies on power-stealing, ensure wires are firmly seated and the heating system is functional. Test the circuit with a multimeter, 24V systems should show approximately 24VAC between R and C (if present) or R and W when calling for heat. Millivolt systems show under 1V at rest.
Heater short-cycles or won’t turn off:
Power-stealing can cause relay chatter in millivolt or some low-current systems. The thermostat draws just enough current to keep relays on the edge of activation. Solutions include:
- Switching to a battery-powered model that doesn’t steal power.
- Installing a resistor inline (consult manufacturer support: some provide compatibility resistors).
- Adding a small relay or isolation module between thermostat and equipment.
Wi-Fi drops frequently:
Weak batteries or insufficient power-stealing current can cause the processor to brown out and lose connectivity. Replace batteries or check that the heating system is compatible with power-stealing thermostats. Moving the router closer or adding a Wi-Fi extender may help if signal strength is marginal.
Thermostat reads incorrect temperature:
Smart thermostats with backlit screens can generate slight heat, skewing readings if mounted in direct sunlight, near a heat source, or in a poorly circulating corner. Relocating the thermostat to an interior wall about 5 feet off the floor, away from vents and windows, improves accuracy.
App says “No C-wire detected”:
Some thermostats auto-detect wiring and flag missing C-wires even when configured for 2-wire mode. Navigate to settings and manually select “2-wire” or “heat-only” configuration to bypass the error.
Alternative Solutions If You Have Only 2 Wires
If a true 2-wire smart thermostat isn’t compatible or available, several workarounds exist:
Add a C-wire adapter:
Devices like the Venstar Add-A-Wire or similar products use the existing thermostat wire to create an additional conductor for a C-wire. They install at both the thermostat and the furnace control board. This allows installation of standard smart thermostats (Nest, Ecobee, etc.) that require a C-wire. Cost: $20–$40 plus installation time.
Run a new wire:
If attic, basement, or crawlspace access makes it feasible, running 18/5 or 18/8 thermostat wire future-proofs the system for any smart thermostat. This is the cleanest long-term solution but requires fishing wire through walls in many homes.
Use a plug-in transformer:
Some thermostats (particularly older Nest models) can use an external 24V transformer plugged into a nearby outlet, with a wire run to the thermostat for continuous power. This setup is unconventional and not officially supported by most manufacturers, but it works in a pinch.
Upgrade the HVAC control board:
Modern furnace and air handler control boards often include a C-wire terminal. If the existing board lacks one, a replacement board (typically $80–$200) can add the terminal, making C-wire installation straightforward.
Smart plugs for electric heaters:
For line-voltage electric baseboard or space heaters, a high-amperage smart plug or relay (rated for resistive heating loads, typically 15A minimum) can provide on/off control via smartphone. This bypasses thermostat wiring entirely, though it sacrifices precise temperature control in favor of simple scheduling and remote switching.
Conclusion
A 2-wire system doesn’t mean giving up smart home convenience. Whether choosing a battery-powered thermostat for a millivolt furnace, a line-voltage model for electric baseboard heat, or a workaround like a C-wire adapter, options exist for nearly every configuration. The key is confirming system voltage, verifying compatibility, and following installation steps carefully. With the right thermostat in place, even the simplest heating system gains scheduling, remote access, and energy tracking, without tearing open walls or hiring an electrician.